Slider

slide1

Drone Structure Scan - Derelict Cottage

Detailed 3D model of and old derelict cottage in Midvale.

slide2

Small Drone Mapping 101

The Aero Scout shares his experiences with drone mapping and 3D models.

slide3

Arthur River Mt Pleasant Kitchen - 3D drone structure scan

3D model of the heritage building Mt Pleasant Kitchen in Arthur River.

slide4

Chestnut Brae - Farm planning map in Nannup

Demonstrating how drone imagery can be used as a base for effective farm planning.

slide5

Drone Structure Scan - Heritage Lighthouse

Drone structure scan of the heritage South Mole Lighthouse in Fremantle.

Pre-Flight Checklist

Pre-Flight Checklist

Pilot error would easily be the number one reason for any drone incident/accident and 'GPS fly away' is an incident that plagues quadcopter pilots. I've had my share of close calls and most of them have been caused because I was not thorough enough with either my airframe setup or pre-flight checks.

It's hard to stay disciplined when your mates at the flying field simply turn on their RC models and throw them into the air, which is the norm for hobby flyers. However with GPS drones that use sophisticated flight controllers they need time to startup correctly and complete their own systems checks.

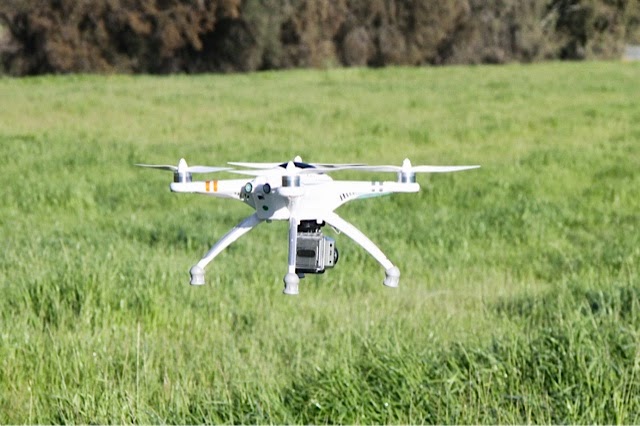
In order to keep myself on track, I created a pre-flight checklist that I consistently use for every UAV mission. See an example of the checklist I use for my QR X350 Pro drone here.

Pump Station - 3D Mesh (V2)


Pump Station - 3D Mesh (V2)
QR X350 Pro vantage point on Pump Station photogrammetry mission
Today I returned to the Pump Station to try my luck on another photogrammetry mission. It was overcast so I thought it would make a better day for aerial photos. they certainly were better than the first attempt, much less shadow and sun glare. I was much methodical in taking the photos this time and I followed the quad around the pump station to make sure it was aligned for each shot.

Autodesk ReCap 360 is very easy to use. Follow their guidelines when taking the photos, upload them to site, sit back and wait for the render to finish. You can go back into the interface and manually manipulate the images to realign any that could not be meshed automatically.

That said I feel that I am still only getting 'basic' results. The mesh is very messy under the eaves of the roof and this causes problems with the textures on the walls. I am using the free version of ReCap 360 and it limits the total amount of images it will import for each project to 50. I'm not sure if this is too few (even for a small project like this) or whether I need to persevere with refining my methodology, choosing an easier subject to model and stabilise the camera more.

I'll continue to see what I can do using the free version a little longer before looking at seeing what the paid version can do to improve my results.

See the video of the mission here;


This has been another 'drone adventure' in aerial surveying, inspection and mapping by The Aero Scout.

Park Ride - Aerial Filming

Park Ride - Aerial Filming
Park ride with the QR X350 Pro
Again it was a glorious warm winters evening so Stella and I headed to the park. Whilst there, we both enjoyed some riding and aerial filming practice with the QR X350 Pro. See the video here;


Pump Station - 3D Mesh

Pump Station - 3D Mesh
Pump Station photo mesh taken created using Autodesk Recap 360
I stumbled across, what I thought would make, a simple photogrammetry project today, a sewage pump station on the outskirts of the local wetlands. The reason I thought it would be easy is that it is a simple shape and it is surrounded by clear space making it easy to fly the Walkera QR X350 Pro around it.

I turned out to be tougher than I thought. For starters getting the quad absolutely stable is a tough job in even the lightest of winds and watching out for the right lighting is also tough, it was a very sunny day and when the camera was facing towards the sun the photos are all under-exposed. The other challenge is understanding when the GoPro will take a picture, I have it set on a 2 second timer so for each placement I have to wait five seconds or so to make sure I have at least one or two good shots in.

I'm yet to get stuck into all of the functions in Autodesk ReCap 360 to be able to 'manually stitch' photos that couldn't be processed etc. For my second attempt I'm pleased with the results.

Anyway, it's all good fun experimenting and slowly getting better. I'll be sure to go back and try again, next time I'll pay more attention to my methodology and the lighting conditions.

Pump Station - 3D Mesh
Pump Station photogrammetry mission using my QR X350 Pro and GoPro2 (hard mounted) 
This has been another 'drone adventure' in aerial surveying, inspection and mapping by The Aero Scout.


Sunday @ the Woody - Aerial Filming

Sunday @ the Woody - Aerial Filming
QR X350 Pro with hard mounted GoPro 2
Sunday morning flying with the boyz at the Woodbridge flying field.

Gazebo - 3D Mesh


Autodesk Recap 360 photomesh of the Maylands gazebo
Harry and I popped out for a lunchtime adventure today ..... picnic bag and quad in tow. I spotted a cute little park that had both a playground and a gazebo by the water that I thought would make a nice photogrammetry project. It was a little windy (10knots) and was hard to keep the quad steady, but at least we ended up with a photo mesh. It's only a basic result but it gives me something to work from and hone my skills controlling the quad in order to get well framed shots. Here is my first attempt at photogrammetry using my Walkera QR X350 Pro, GoPro 2 (hard mounted) and Autodesk Recap 360.

QR X350 Pro first photogrammetry - the gazebo  

Harry  stretching up before the big photogrammetry mission